Select a location and name for the file.
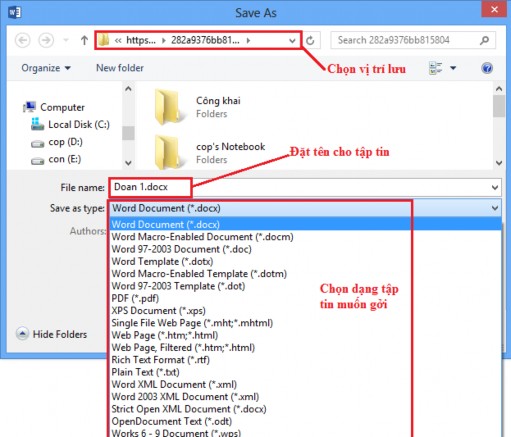
Figure 4.2.22
Maybe you are interested!
-

 Evaluating customer satisfaction with savings deposit services at National Citizen Commercial Joint Stock Bank NCB Tan Huong Transaction Office - 3
 -
 Content of Implementation of Legal Policy on Management of Education Sector Officials
 -
 Office 2013 Basic Part 2 - 1
 -
 Content of Legal Relationship Regarding Loan Contract
 -
 General Assessment of the Content of the Composition Course
After saving the file to the Share location here specifically OneDrive File Tab
Share Mail Send as Link.
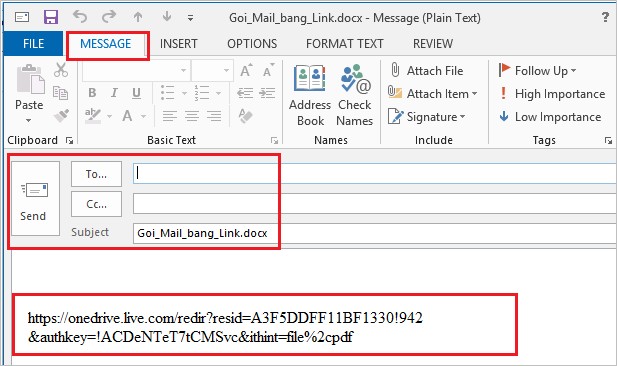
Figure 4.2.23
4.2.5. Template file
Usually when editing a document, you usually just use a blank Word page then format it as you like. But in some cases, you need a template to apply to many documents, or a CV template for job application, or an application form, etc.
Word 2013 has many document templates necessary for users, or you can also create your own template to apply to documents serving your work.
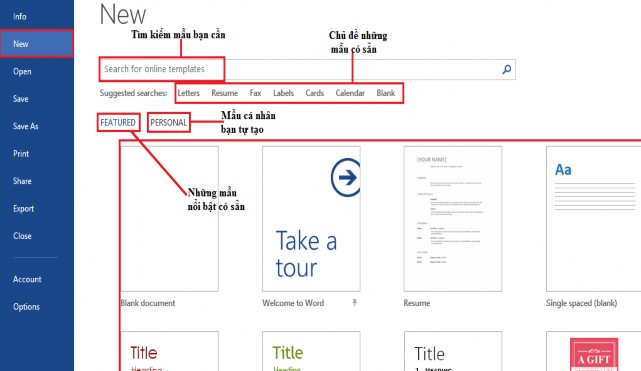
Figure 4.2.24
For example:You want to find a Resume template File Tab New Suggested searches Resume
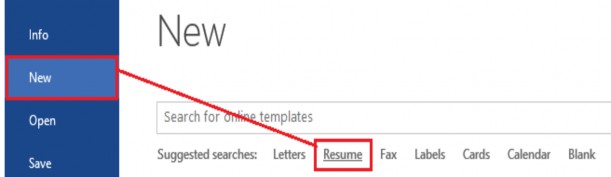
Figure 4.2.25
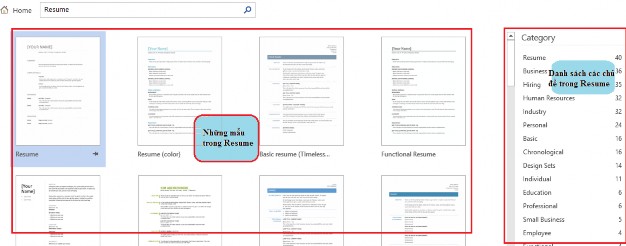
Figure 4.2.26
Select a template you need Click to select
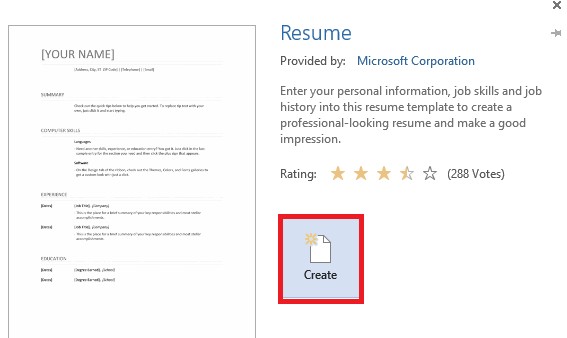
Figure 4.2.27
4.3. Formatting Content
4.3.1. Font format
Main toolbar for Font formatting Home tab Font group
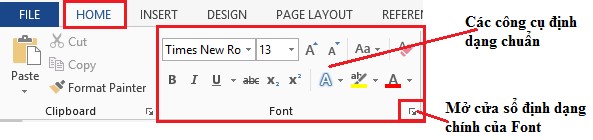
Figure 4.3.1
The default font format in Word when opening a new editing page is Calibri Font, but you can also change it whenever you want.

To change the default font format open a blank Word page select Font and some formats you need Home Tab Font Group Open the Font window
Figure 4.3.2
To format the Font Select the text block to format
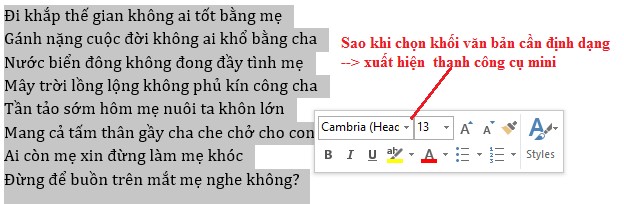
Figure 4.3.3
Or format on the Font tool group of the Home Tab:
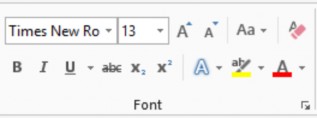
Figure 4.3.4
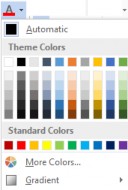
Font format: Click  Select the font you want to format.
Select font size: select size from available list, or enter it yourself.
Increase size:
Reduce size:
Change Case: convert from uppercase to lowercase, vice versa, ...
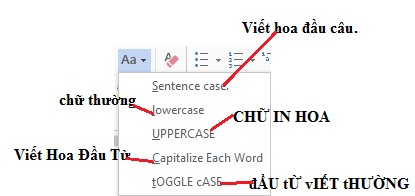
Figure 4.3.5
Bold text: select text block (Ctrl+B) / click icon

Italicized text:  select text block (Ctrl+I) / click icon

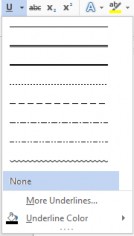
Underlined letters:  select text block (Ctrl+U) / click icon
Mid-word hyphen :
Superscript: ax 2 +bx=c
Subscript: H 2 O
H 2 O
Font effects:
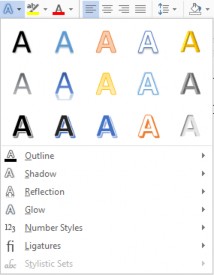
Some effects for fonts,
,
, Shadow,
Reflection, Glow, Number Style, etc.

Ligatures.
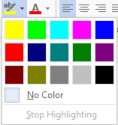
Font background:


Clear format Clear format
In addition, you can change the spacing between words, word position in the line, ... open the font window select the Advance Tab
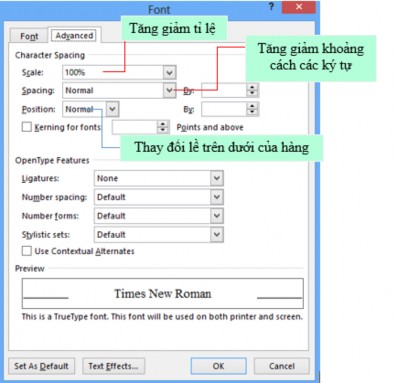
Figure 4.3.6
4.3.2. Paragraphs in the document
Paragraph formatting allows you to change the look of your entire document. You can access the Paragraph formatting tools by selecting the Home tab, and selecting the Paragraph group.

Figure 4.3.7
Margins in Paragraph: Margins allow you to set how text appears. To change the margins, do the following:
Select the text, then click the Home tab, and then select the appropriate button for the margin.
on the Paragraph group:
- Align Left (Ctrl+L): text is aligned to the left edge.
- Center (Ctrl+E): Text is centered on the margins.
- Align Right (Ctrl+R): Text is aligned to the right edge.
- Justify (Ctrl+J): Text is aligned evenly on both the left and right sides.
Paragraph Indentation: Paragraph indentation allows you to define text within a paragraph with different margins. There are several options for indentation:
Figure 4.3.8
- First Line: Controls the left border for the first line of a paragraph.
- Hanging: Controls the top-left border for all lines in a paragraph except the first line.
- Left: Controls the left border for every line in a paragraph.
- Right: Controls the right border for every line in a paragraph.
Create line spacing: In technical documents, page layout helps to present the text clearly and beautifully. If you used to create spacing by pressing the Enter key to go to a new line, now you will use the available tools in the MS Word editing program to do this.
Select the lines that need spacing formatted. Select the Line and Paragraph Spacing function